Email format error
Email cannot be empty
Email already exists
6-20 characters(letters plus numbers only)
The password is inconsistent
Email format error
Email cannot be empty
Email does not exist
6-20 characters(letters plus numbers only)
The password is inconsistent


Applying gel polish on natural nails can seem daunting, especially if you're used to traditional nail polish. However, with the right technique, you can achieve a salon-quality manicure right at home. Whether you're preparing for a special occasion or simply want to keep your nails looking pristine, learning to apply gel polish properly is a game changer. Let's dive into a step-by-step guide to help you master the art of applying gel polish on natural nails.
Before we get into the application process, let's talk about why you should consider gel polish over regular nail polish. Gel polish is known for its durability, shine, and chip-resistant finish. Unlike traditional nail polish, which can chip within days, gel polish can last up to three weeks with proper care. This makes it an excellent choice for those who don't have time for frequent touch-ups. Plus, the high-gloss finish gives your nails a professional look that's hard to achieve with regular polish.
1. Start with Clean Nails
The key to a long-lasting gel manicure is to start with a clean canvas. Begin by removing any old polish from your nails using a non-acetone nail polish remover. It's essential to ensure that your nails are completely free of any residue or oils, as this can prevent the gel polish from adhering properly.
2. Shape and Buff Your Nails
Using a nail file, shape your nails to your desired length and style. Common shapes include oval, square, and almond. Once your nails are shaped, gently buff the surface with a nail buffer. This helps to remove the natural shine from your nails, creating a slightly rough surface that allows the gel polish to adhere better.
3. Push Back Your Cuticles
Pushing back your cuticles is a crucial step in preparing your nails. Use a cuticle pusher to gently push back the cuticles around your nails. Be careful not to cut them, as this can lead to infections. Removing excess cuticle ensures that your gel polish will apply evenly without lifting at the edges.
4. Apply a Nail Dehydrator and Primer
To ensure that your gel manicure lasts as long as possible, apply a nail dehydrator followed by a primer. The dehydrator removes any remaining oils from your nails, while the primer helps the gel polish bond to your nails. These products are especially important if you have naturally oily nails, as they can significantly extend the life of your manicure.
1. Start with a Base Coat
Once your nails are prepped, apply a thin layer of gel base coat. Be sure to cover the entire nail, including the edges, to prevent lifting. Cure the base coat under a UV or LED lamp for the recommended time (usually around 30-60 seconds). The base coat acts as a foundation for the gel polish and helps it adhere to your nails.
2. Apply the Gel Color
Now for the fun part—applying the gel polish color. Choose your desired shade and apply a thin, even layer to each nail. It's important to apply the polish in thin coats to avoid bubbles and ensure a smooth finish. Cure each layer under the lamp for the recommended time. Depending on the opacity of the polish, you may need to apply 2-3 coats to achieve full coverage. Remember to cure each coat before applying the next.
3. Seal with a Top Coat
After applying the color, seal your manicure with a gel top coat. The top coat adds shine and protects the color from chipping. Apply a thin layer, making sure to cap the free edge of your nails to prevent peeling. Cure the top coat under the lamp for the recommended time.
4. Wipe Off the Sticky Layer (Optional)
Once you've cured the wipe-off top coat, there will be a sticky residue on your nails. Don't worry—this is completely normal. Use a lint-free wipe soaked in isopropyl alcohol to gently wipe off the sticky layer. Your nails should now be smooth, shiny, and ready to show off!
If you want to save time and effort, you can choose the no-wipe top coat that will not be a tacky layer after cured.
1. Moisturize Your Cuticles
Maintaining healthy cuticles is essential for the longevity of your gel manicure. After applying the polish, moisturize your cuticles with a cuticle oil or cream. This helps to keep your nails and surrounding skin hydrated, preventing them from becoming dry and brittle.
2. Avoid Harsh Chemicals
To keep your gel polish looking its best, avoid exposing your nails to harsh chemicals like household cleaners or acetone. If you need to use these products, wear gloves to protect your manicure.
3. Reapply Top Coat
To extend the life of your gel manicure, consider reapplying a top coat every few days. This will help maintain the shine and prevent chipping, ensuring your nails look flawless for longer.
1. Don't Peel Off the Gel Directly
Peeling off gel polish can damage your natural nails, leaving them weak and prone to breaking. Instead, soak a cotton ball in acetone and place it on your nail. Wrap each nail with aluminum foil and let it sit for 10-15 minutes. The acetone will break down the gel, allowing you to gently push it off with a cuticle pusher.
2. Buff and Moisturize After Removal
After removing the gel polish, your nails may feel a bit rough. Use a nail buffer to smooth out any ridges and apply a nourishing nail oil or strengthener to restore moisture and keep your nails healthy.
When it comes to finding the perfect gel polish, it's essential to choose a brand that offers quality, variety, and reliability. MissGel is a renowned manufacturer of gel nail polish, offering a wide array of gel colors that cater to various tastes. Whether you prefer the elegance of classic white and pink shades or are drawn to the latest trends from Korea and Japan, MissGel ensures that your gel nail polish needs are met.
MissGel's salon-quality gel polishes are crafted for durability and resistance to chipping, allowing you to achieve a professional-looking manicure at home. The formulas are designed to last, ensuring your manicure remains flawless for an extended period.
MissGel's product line includes a variety of options to suit every style:
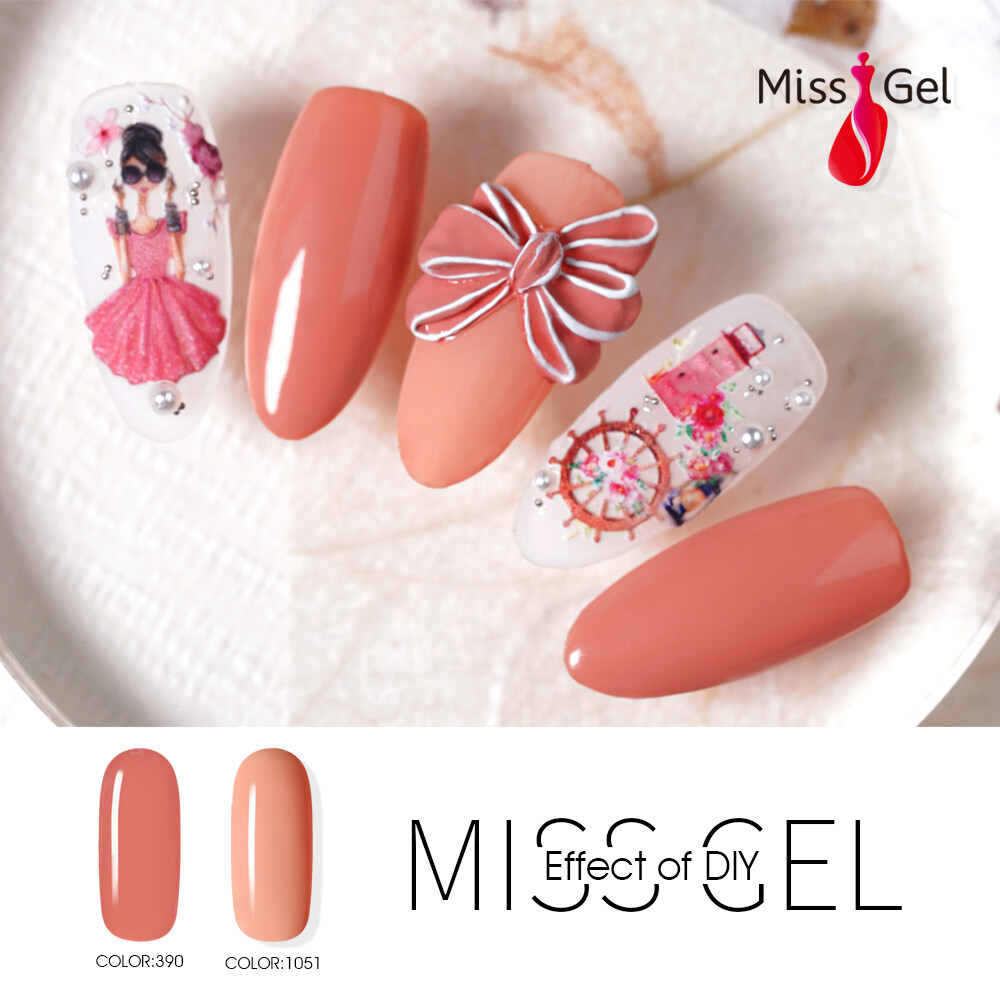
Classic Solids: Timeless shades for a sophisticated look.
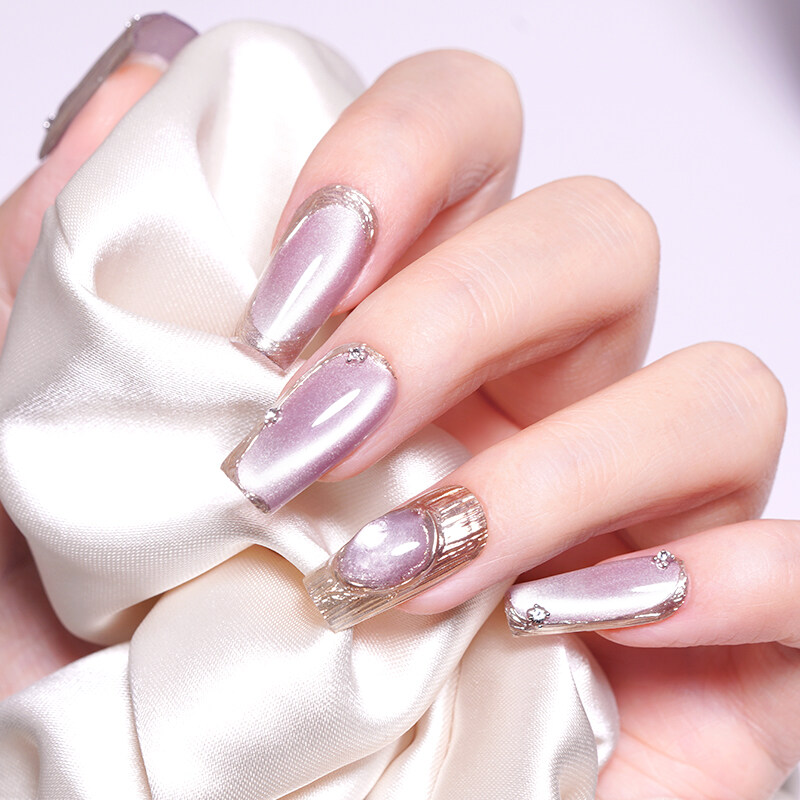
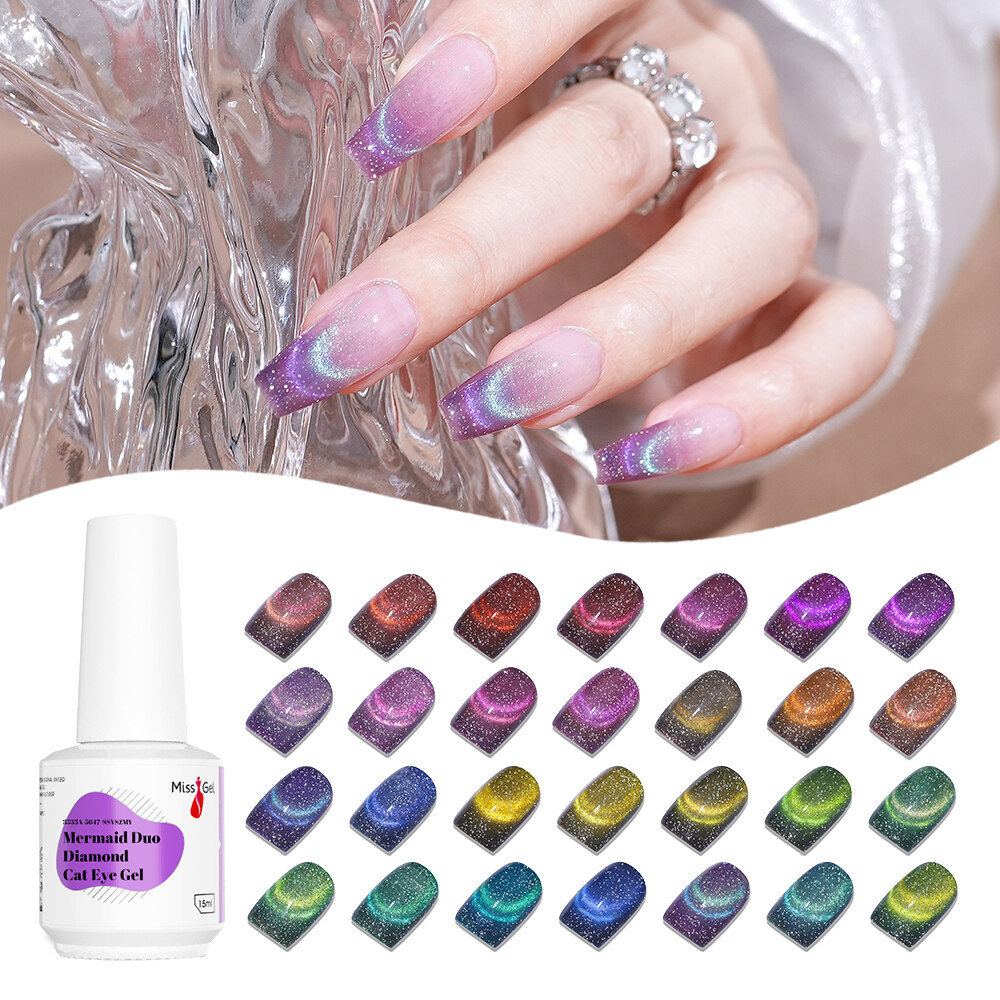
Trendy Cat-eye Nail Effects: Striking cat eye gels for a unique touch.
Glitter Gel Polish: Dazzling glitter polishes for a glamorous effect.
Innovative Color Changing Gel Polish Options: Glow-in-the-dark Gel polishes, mood-changing gel polish, and ultraviolet color-changing gel polish for a fun twist.
For businesses and entrepreneurs, MissGel provides:
Wholesale Solutions: Bulk offerings with vibrant colors and lasting quality.
Private Label Opportunities: Customize your brand with our high-quality products.
Custom Manufacturing: Tailor-made polishes to meet specific requirements.
By following this guide and using quality products like those from MissGel, you can achieve a stunning, long-lasting gel manicure at home. So, what are you waiting for? It's time to give your nails the attention they deserve!